Howdy people! Yes, our posts have slowed down a bit and I’ll tell ya…..getting use to a new medication can mess with you as it has with me. I’m feeling more productive today so I figured I had better get to typing!
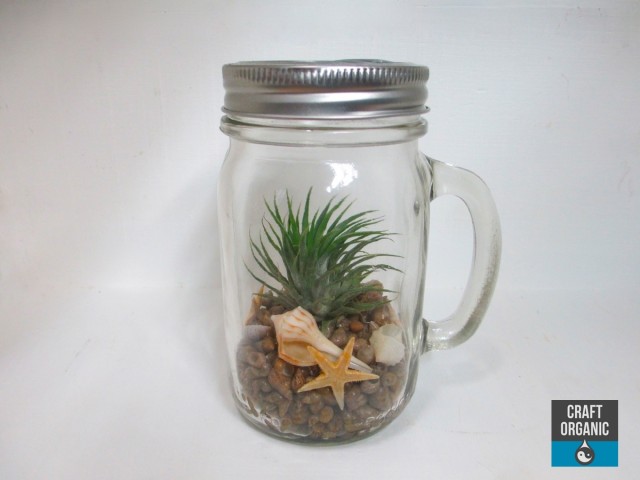
We made these Mason Jar Mug Terrariums for the Atomic Holiday Bazaar this past December so we thought we’d show you why we made it this certain way.
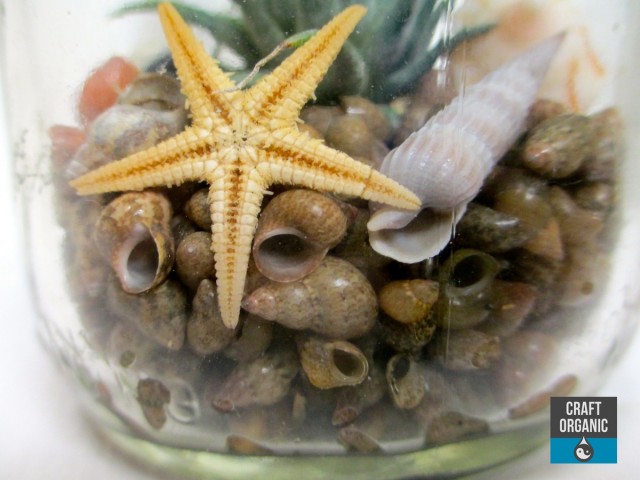
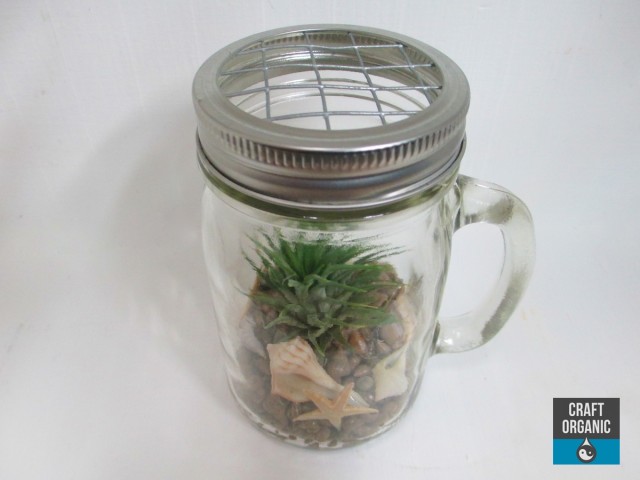
Our first choice was to fill the terrarium with a little sand but then realized the sand had calcium in it which absorbed all the water off the air plant. Since it’s important to allow the plant to absorb the water through it’s leaves we had to remove the sand and replace it with tiny little snail shells. We had a bag of them floating around the house – don’t even ask me where they came from.
Then we added some sea shells (still on the small side) found at the beach to create a beach theme. In keeping with the beach theme we decided to add some little starfish we found over at Hobby Lobby and choose not to add any moss …we never see moss at the beach.
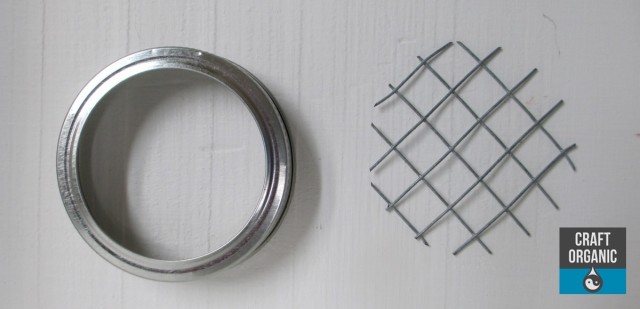
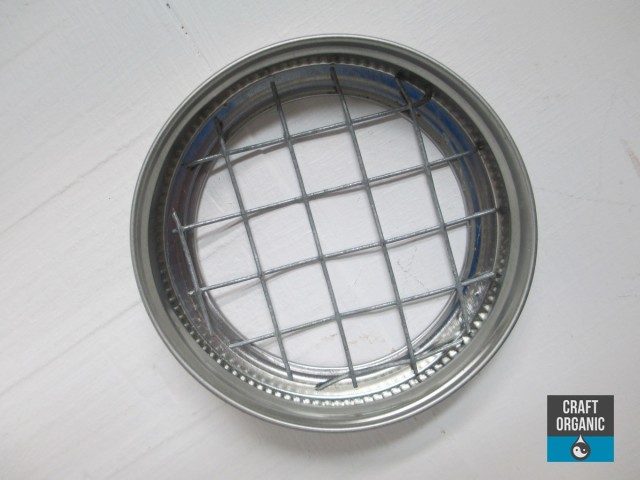
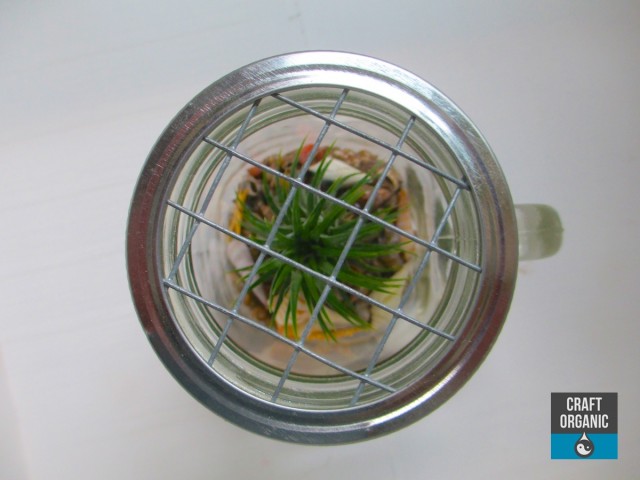
Then we had an issue with the lid that comes with the mason jar. Originally, we were going to poke holes in the lid because air plants need air circulation but we thought that might look tacky as well as not providing enough air flow. That’s when we chose to use hardware cloth instead. The hardware cloth provides much more air flow and it looks a lot better than nail holes poked into the lid.
All ya need are some wire cutters to cut the hardware cloth to fit inside the screw on cap. We didn’t glue the hardware cloth to the cap but I suppose you could if you wanted to do so.
The final step is adding your favorite tillandsia to the mason jar terrarium. The plant can be easily removed to spray with water or soak in water, then placed back into the mason jar terrarium. Spraying inside the terrarium may add spots to the glass and who wants that.
[Email Subscribe]



Like it a lot! Had planned on selling my canning jars. Now I can repurpose them.
Thanks for the idea.