“One man is equivalent to all Creation. One man is a World in miniature.” -Albert Pike
The first thing we’re going to say is, it’s a “terrarium,” not a “terranium.” In fact, there is no such word as “terranium” and it seems to be one of those mispronounced words like supposedly, not supposably, among dozens more that we’re all guilty of saying now and again…
If you need to call a terrarium something else, stick with “Vivarium.” Or if you get a kick out of driving the lady at your local nursery nuts, then stick with terranium. She’ll try to correct you but pretend you don’t hear her.
What’s the Point?
The purpose is to create an almost self-sufficient eco-sphere inside the terrarium as the little bit of water inside will keep circulating to feed the plants.
Think of it as a miniature greenhouse – a terrarium (or vivarium) is a sealed, or mostly sealed, container (usually glass) used for keeping and growing small plants.
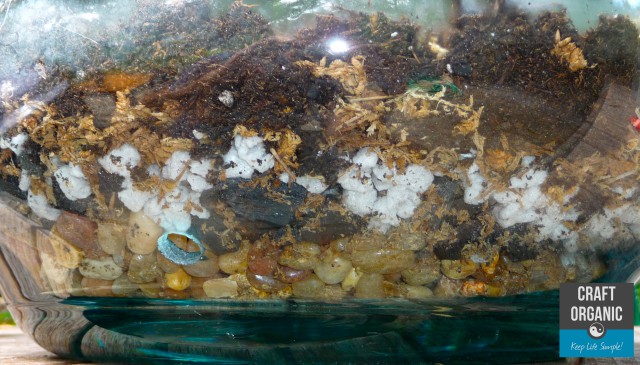
The Layers:
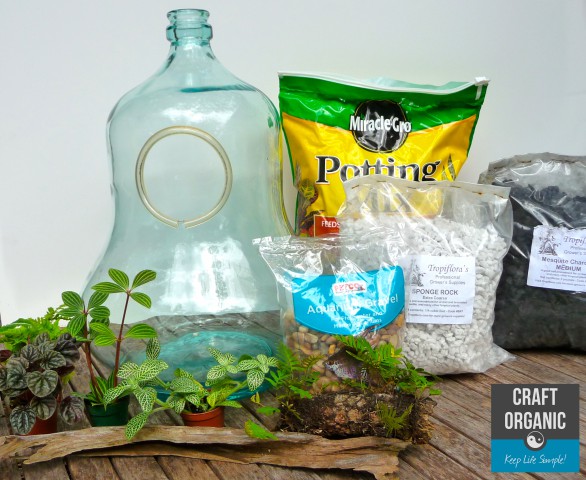
- Gravel – for the water table / drainage
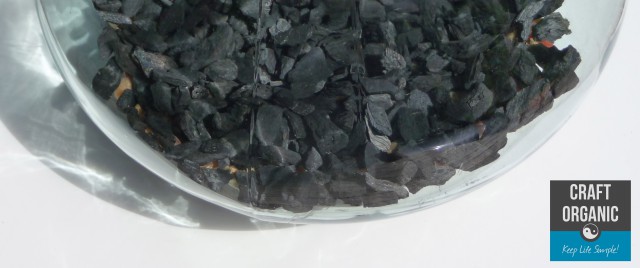
- Activated Charcoal – prevents buildup of minerals
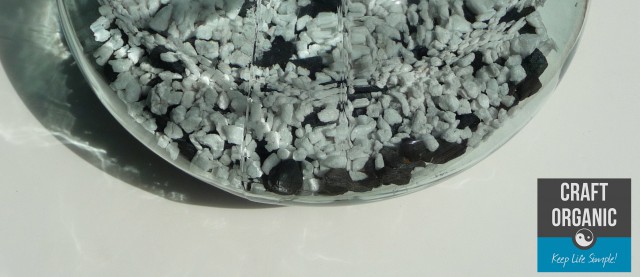
- Sponge Rock (perlite) – retains moisture
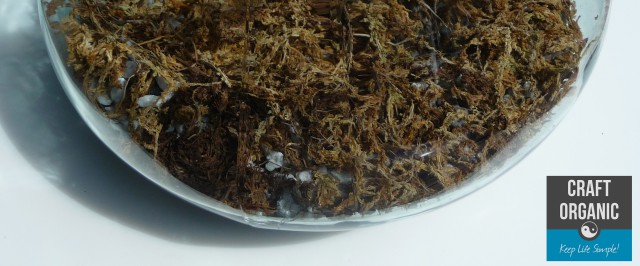
- Moss (sphagnum or sheet) – looks natural and helps to keep soil seperate from bottom layers.
- Soil – we used a regular potting mix – add sand to the mix if using succulents
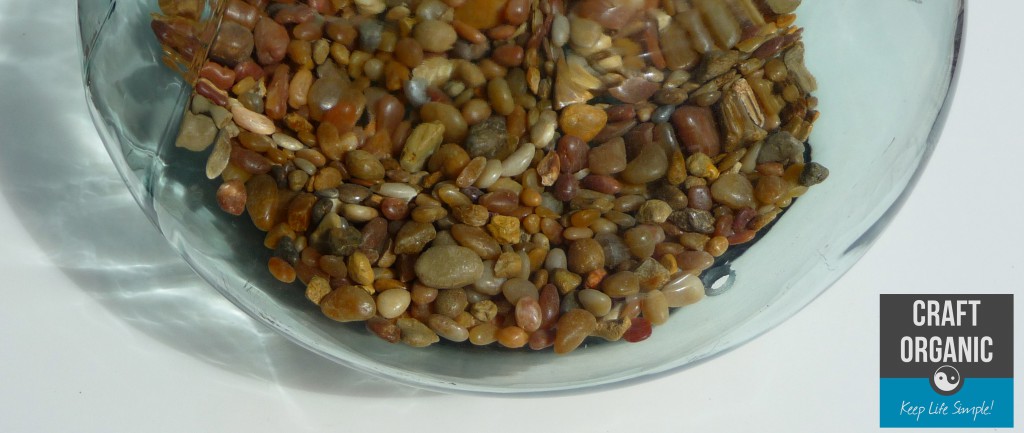
First – Add about an inch of gravel – add slowly and carefully to avoid breaking glass.
Second – Add the same amount of activated charcoal.
Third – Sprinkle some sponge rock – you don’t need a lot.
Fourth – Add a layer of moss approximately an inch deep.
Fifth – Add you soil – up to two inches is good. We didn’t spend too much time making the layers all pretty – but if you want more defined lines between the layers then just pay more attention to what it looks like from the outside when filling the container.
Adding Plants:
This is the fun part! If you forgot to buy your plants, most good nurseries have them labeled as, “Great for Terrariums.” Walmart may have them labeled as, “terranium plants,” if they have them at all. 😉
We were lucky in finding a terrarium we could fit our arm into so…. We used a little glass tea-light candle holder to make an impression in the soil – we removed the plant from the pot – then placed the plant into the impression and covered it with the surrounding soil. Repeat for every plant or use your own system if you prefer. 🙂
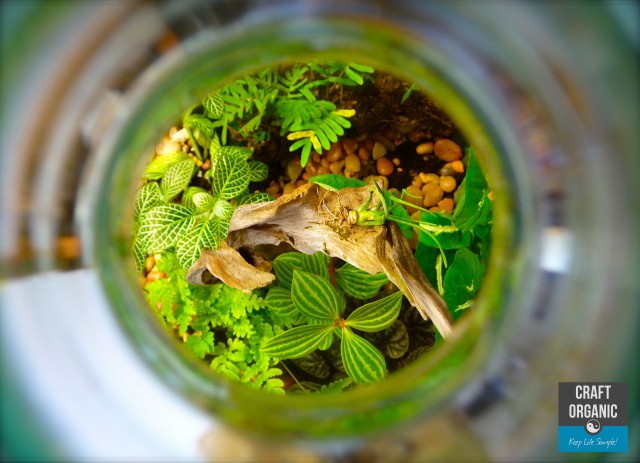
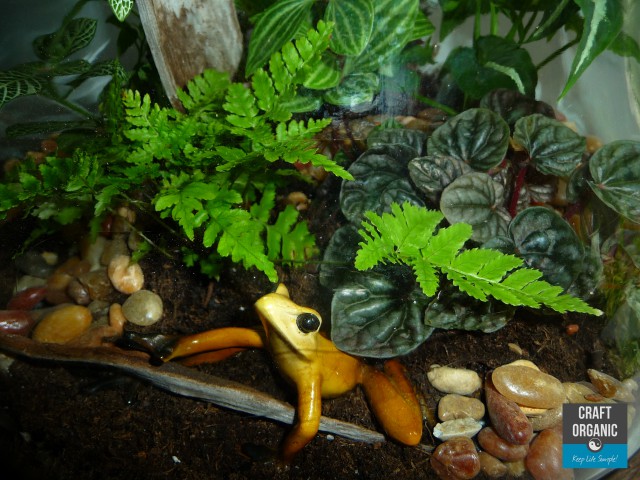
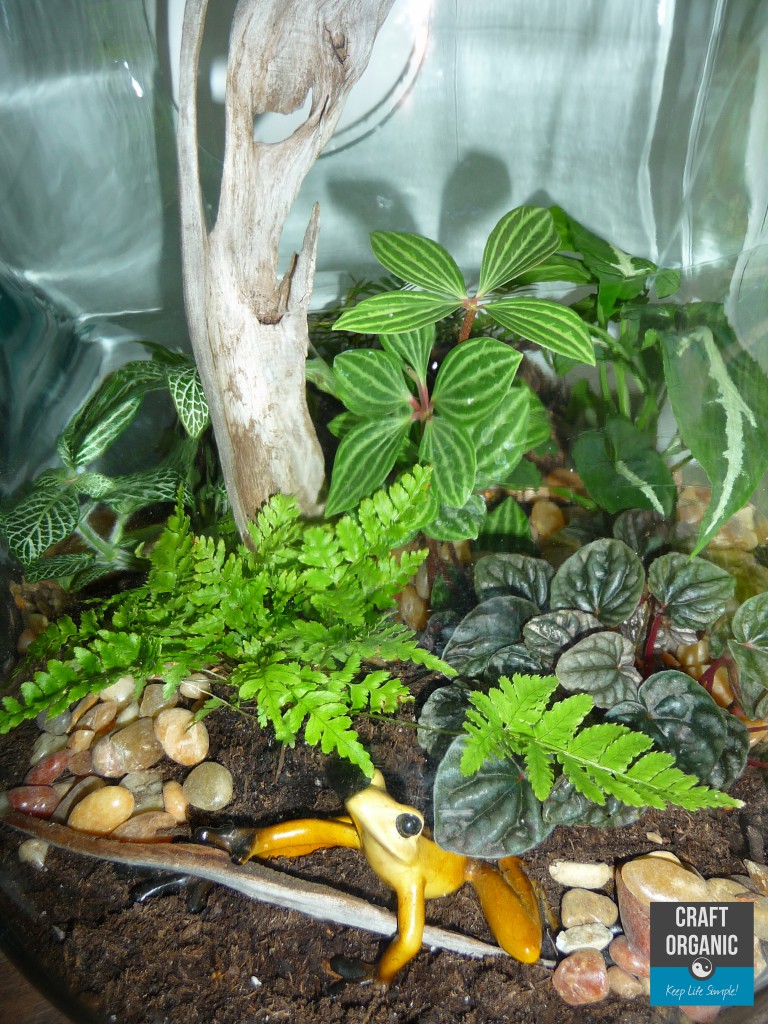
After the plants were in place, we scattered some more gravel around to help hold the plants in place and because we liked the look…
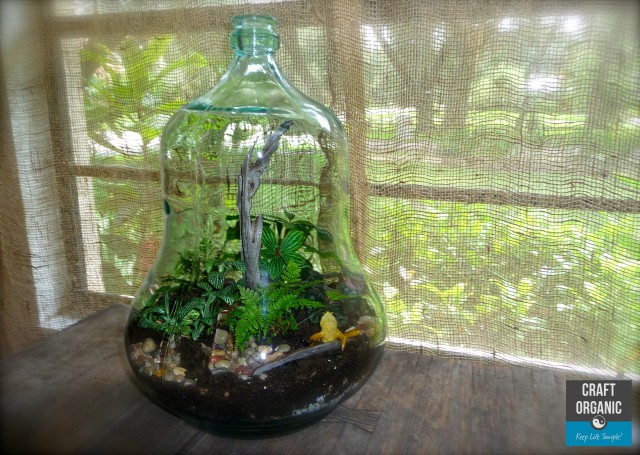
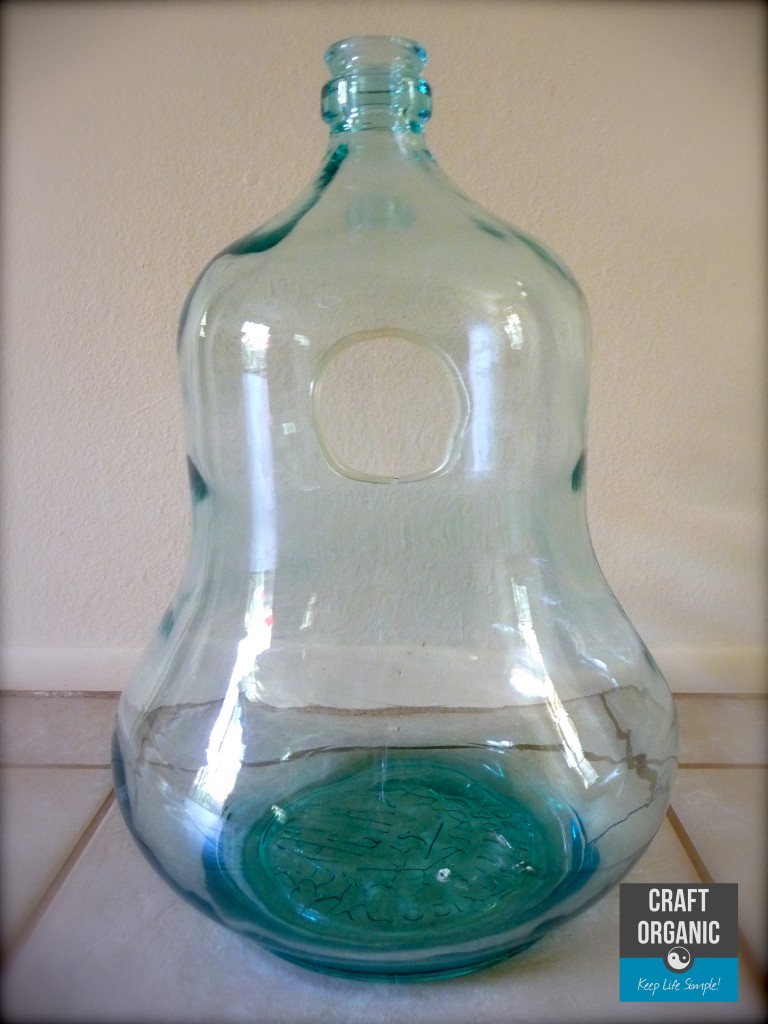
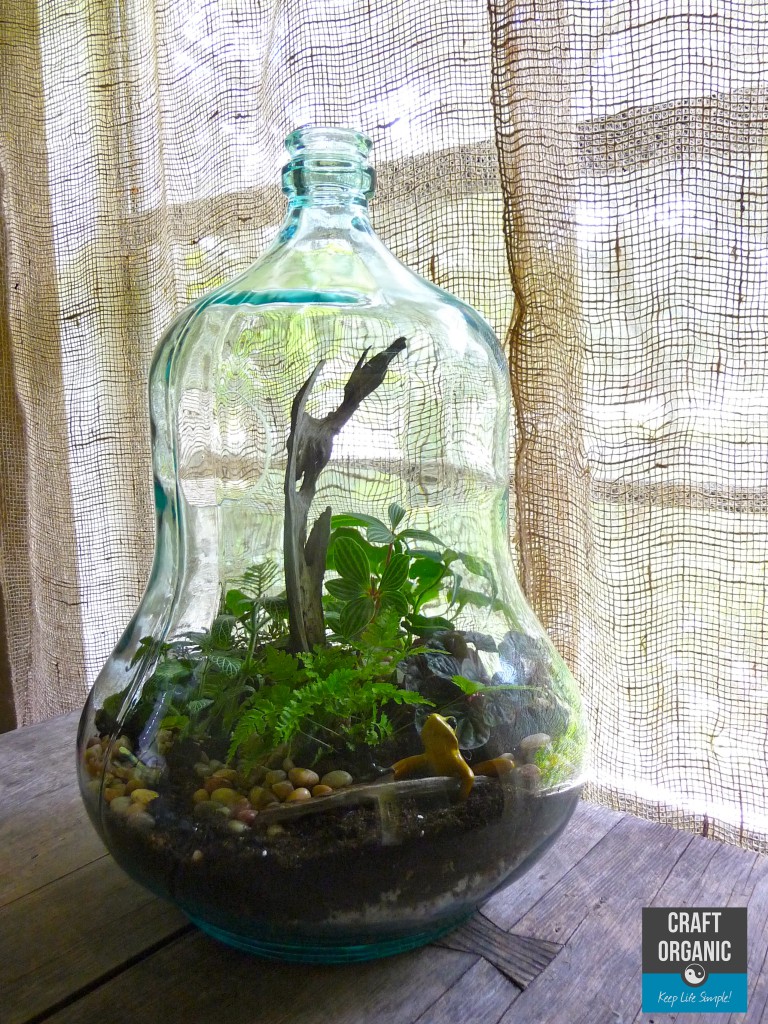
We put about 1 cup of water in there for now to see how it will do. The terrarium is about 20 inches tall and a little over a foot across at the widest point.
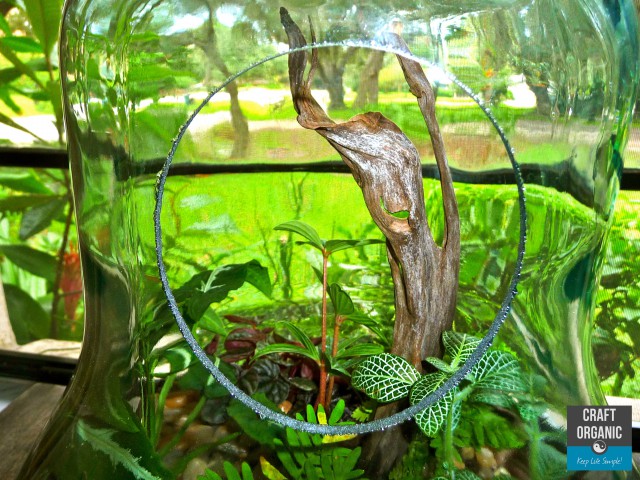
We also added a really cool piece of wood for structure and height in the center. We also added a little frog figure in the front. Add whatever you like.
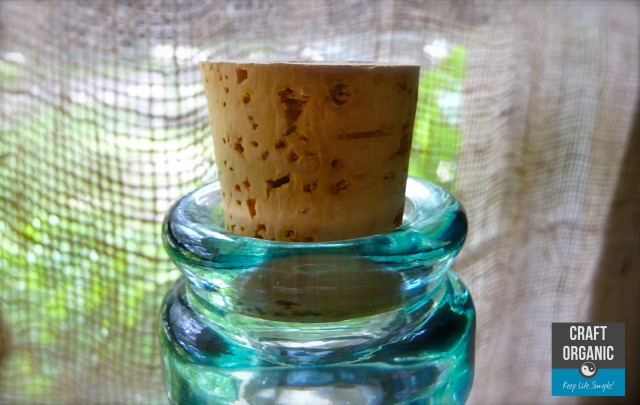
We also put a cork in the top hole since it has such a large opening in the back. The plants we used don’t need extreme humidity so we can leave the round hole on the side open.
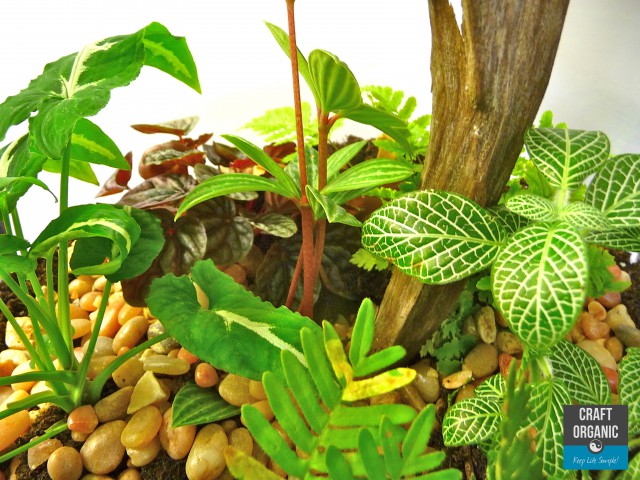
We’ll leave with a few more photos….
[Email Subscribe]



I love the look of terrariums, used to make them when I was in my teens. Great pictures and instructions. Made me want to go look for a great big glass vessel to make one today. 🙂
Thank you Tamara!
Goodness, wish you had done this post before we tried and failed. Love everything about it.
Perhaps in the near future!
beautiful, where in the world did you find the container??
Thanks Helela! We found this container at a garage sale 2 houses down from where we live. Lucky huh?!