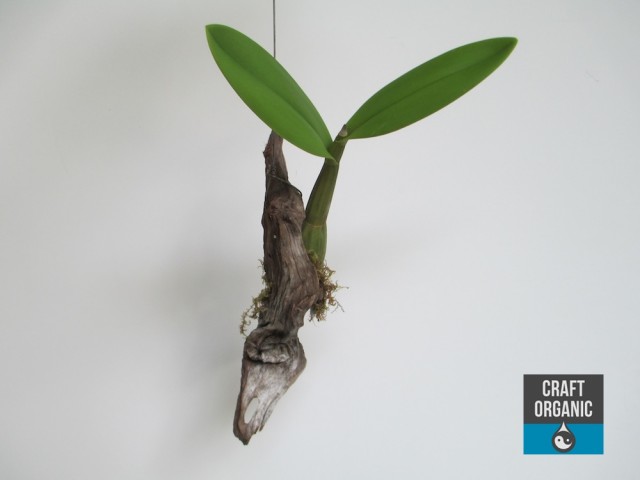
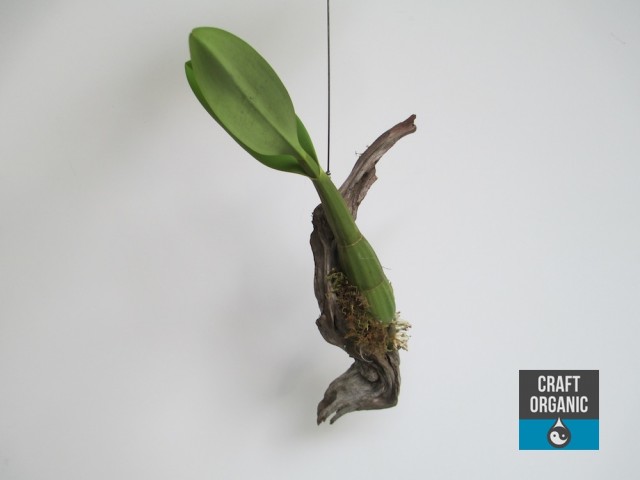
We have shown you how to mount air plants with glue but we’ve never shown you how to do the same with an orchid. Normally, we mount the orchid by wiring it in place, but bulbous orchids are suitable for gluing.
Some people don’t like gluing plants, but in an art-style piece it’s almost necessary because who has the time or patience for them to establish naturally on a chunk of wood.
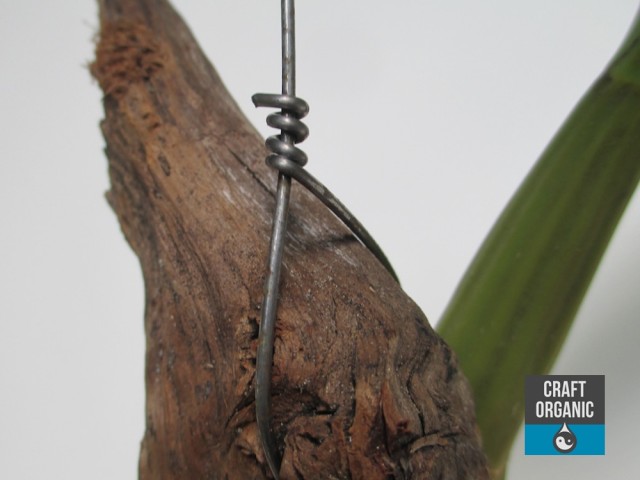
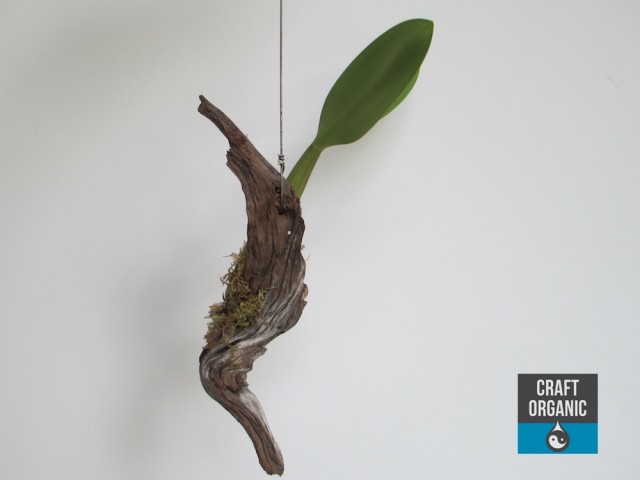
An orchid mounted to wood is best when hanging (or so we think) so that should be the first thing you do; create a way to hang the wood before messing with the plant. This way you will avoid damaging the plant while trying to do it later. We used a dremel to drill a hole, then attached a wire with a loop at the top.
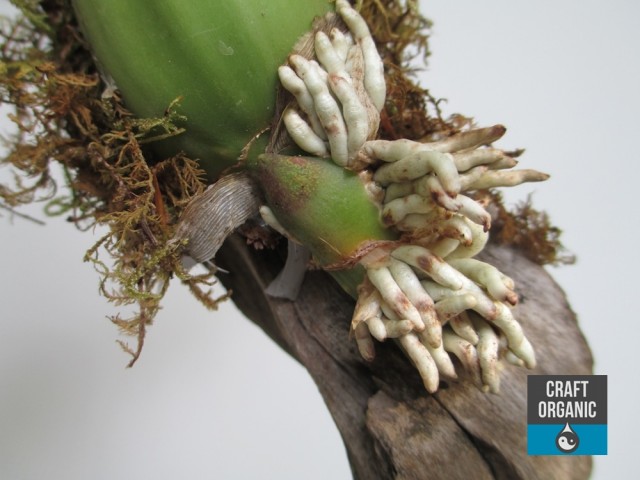
Before you apply the glue, make sure you know where you want to glue the orchid by trying different positions to see what you like best. If the is any new growth you want to face that part away from the wood.
When gluing any air plant or orchid, it is best to use E6000 adhesive and not hot glue. Hot glue will burn your plant! E6000 also performs very well outdoors in any kind of weather, probably better than the plant itself.
After you glue the orchid to the wood it’s a good idea to tie it in place with some twine or raffia until the glue sets.
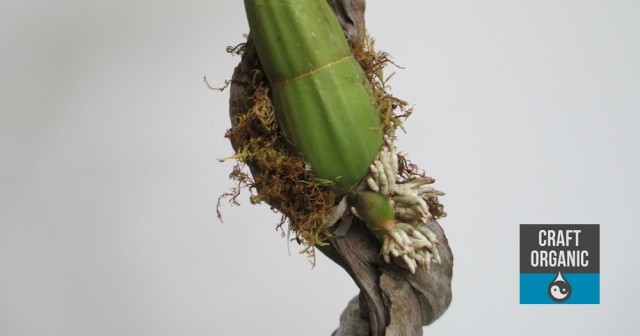
You can dress it up with some sheet moss or use just a little to camouflage the glue if any is showing. Push the moss into the existing glue or add more glue if you want a lot of moss. Reindeer moss is another good choice.
Let the glue set for several hours before you water your orchid.
Then hang it and hope the squirrels don’t notice your latest work!
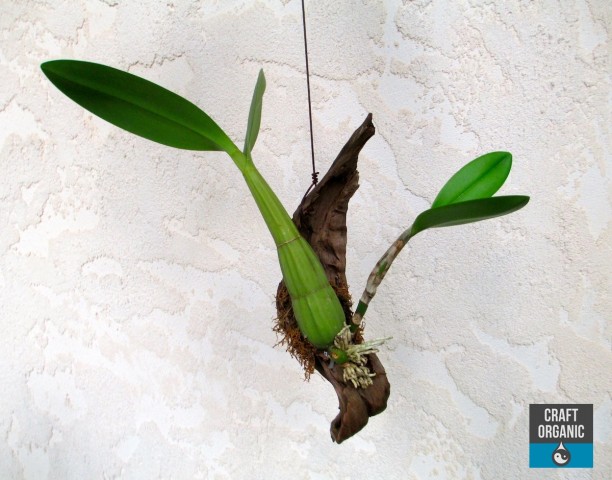
Update: it’s growing!
[Email Subscribe]


Speak up