“One touch of nature makes the whole world kin.” – William Shakespeare
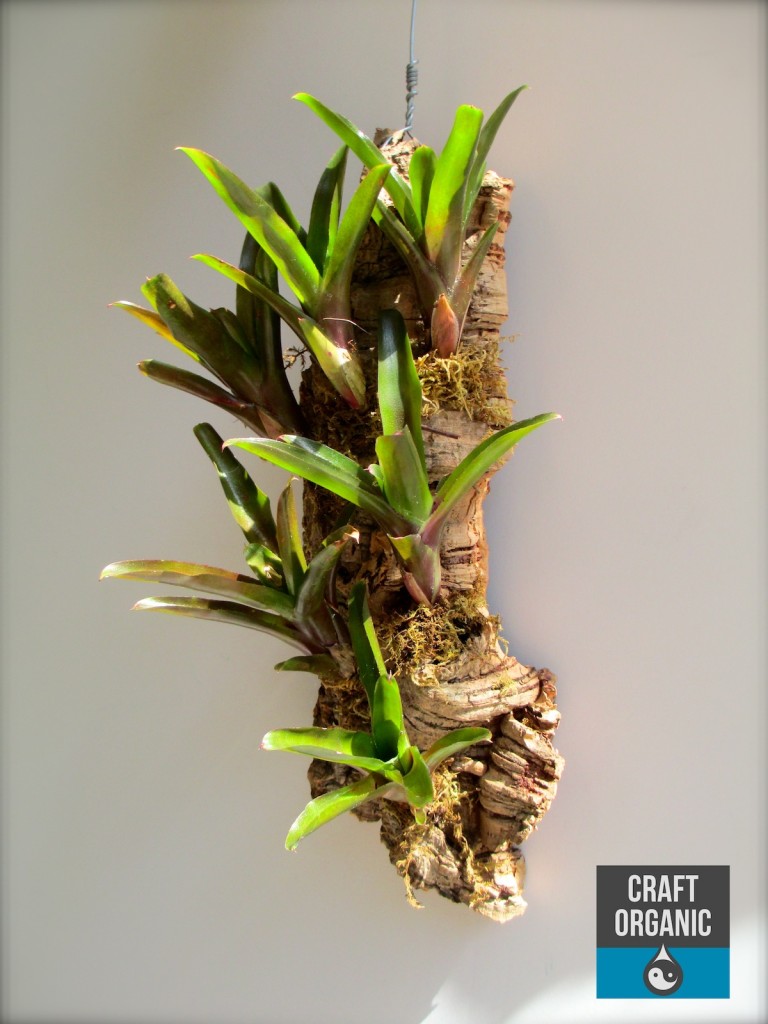
I posted this on our Facebook page recently but wasn’t sure if it would end up being a post since the Plant Man didn’t take photos while he made it, but that never stopped me before… so I’ll do my best to show you how it was done.
Raw cork is a great material because it’s very lightweight, impervious to water and air and that makes it immune to rot. It will probably outlast you.
The natural slab of cork we used is about one foot in length and ranges from 3 to 5 inches wide. Any shape works and size depends on how many plants you want to mount onto it.
First, drill a couple holes near the top so you can add a wire to hang it up. You can come up with a different way to hang it if you prefer not to see the wire from the front.
How many bromeliads you mount to the cork is entirely up to you. You can do 1 or 10 or more…. it depends on the sizes of the plants and the size of your cork.
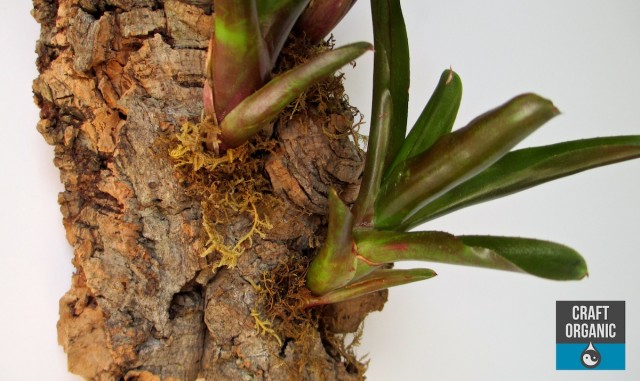
You will want to glue the base of the bromeliad to the cork. Don’t worry about any visible glue at the base of the plant, just push some moss into it to hide it. It could be added later after the excess glue has dried by applying more glue to those areas, then moss. Each bromeliad may need some type of temporary support until the glue dries and you may find it easier if you concentrate on one at a time, adding another after the previous glued plant has dried.
After you have mounted all the bromeliads you can dress it up with some moss. We used sheet moss and a little E6000.
Let the E6000 dry for several hours, or overnight, before you water you bromeliads.
[Email Subscribe]


thank you for not making me type my name & email address!
very good specifics today! love the pointers & project.